

12 Heads, 1 Photographer – a lighting tutorial
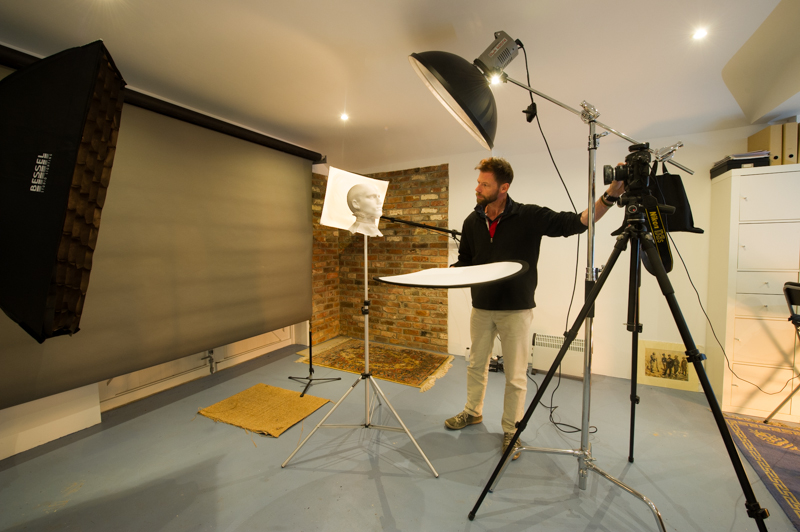
I have a few portraits coming up, and some teaching; so I have used today to build a little tutorial on dramatic lighting for portraits. I call it dramatic, because I am singling the head (here known as “Eric”) from any distraction, and only using dark backgrounds (although it is actually a light grey in reality) – so these are “low-key” images. I also wanted to add some high-speed synchronisation to get my shutter speed faster than 1/250th of a second – in order to be able to use a wide aperture and start to increase the separation of subject and background even further. The lens is a 50mm 1.4D, and all images are direct from camera – no PP!
1. The first “Eric” is my lighting test. One single light (a strip soft-box with grid) placed 45 degrees front and camera-left. Just enough light to catch the second eye – really important.
Shutter speed: 1/125 sec
Aperture: f11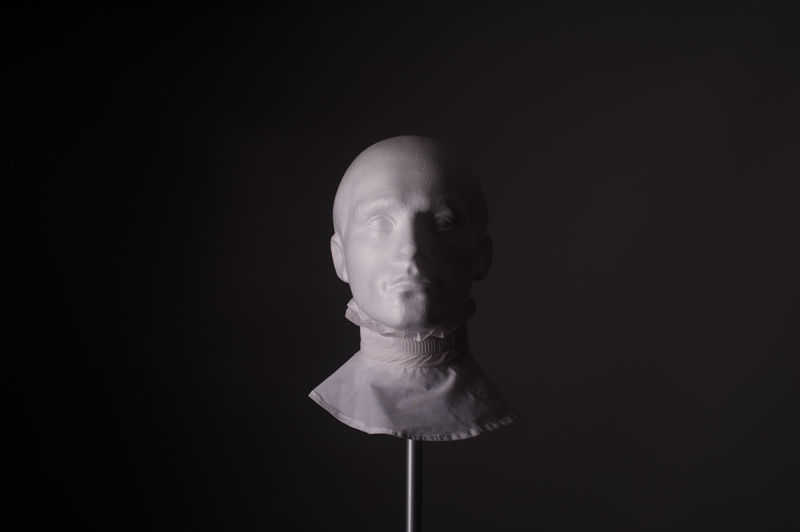
2. Exactly the same, but with a wider aperture.
Shutter speed: 1/500 sec
Aperture: f5.6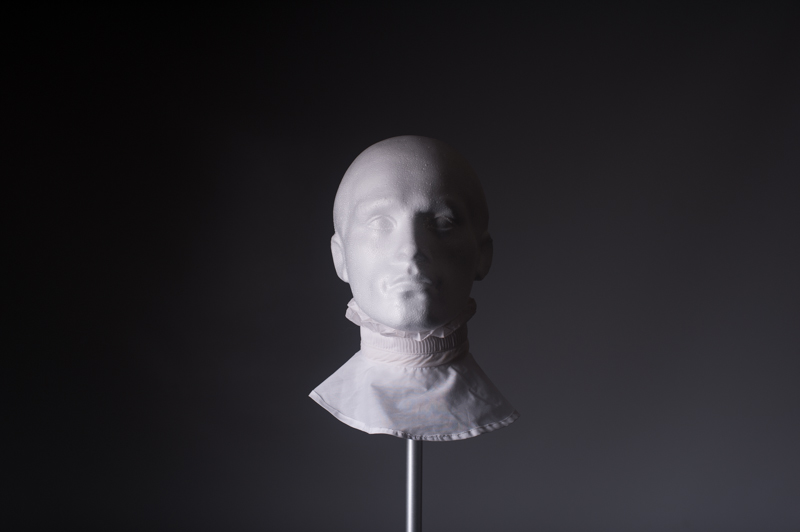
3. This time, going faster with the shutter (using Pocket Wizard Triggers that allow me to sync at high speeds). The one thing I notice with High-speed is that the base of the image (in landscape) becomes brighter than the top as usual sync speeds with my Nikon D4. Need to adapt the lighting slightly with that when shooting in a studio with the camera in portrait rotation, as the right hand side becomes brighter.
Shutter speed: 1/1000 sec
Aperture: f4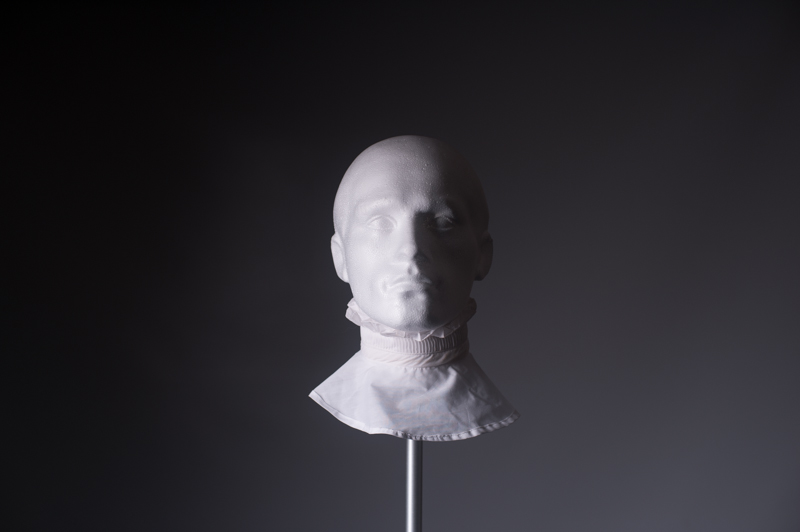
4. Second light, camera-right into play. This is a 70cm x 70cm soft box, and no grid – hence the light spill onto the background. This is also at 45 degrees, but 1/2 a stop brighter for the contrast.
Shutter speed: 1/1000 sec
Aperture: f7.1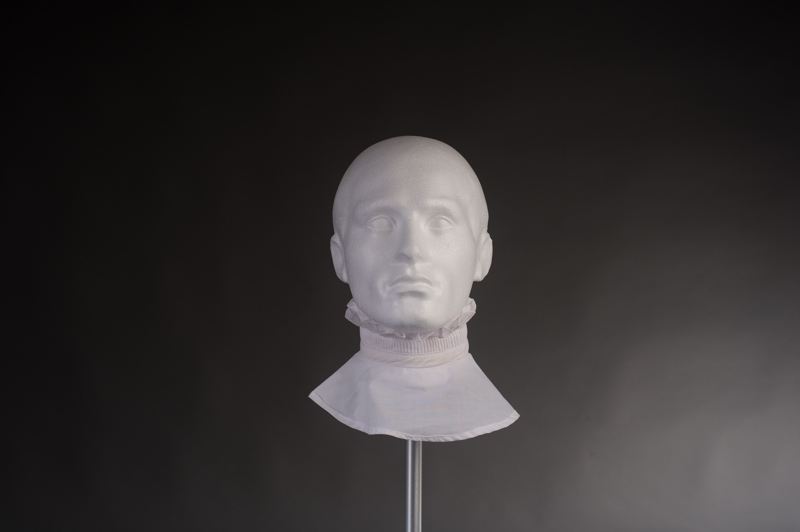
5. I have now slightly repositioned the light to prevent the spill, and added a third light at floor level directly to the background to give a little more depth.
Shutter speed: 1/1000 sec
Aperture: f7.1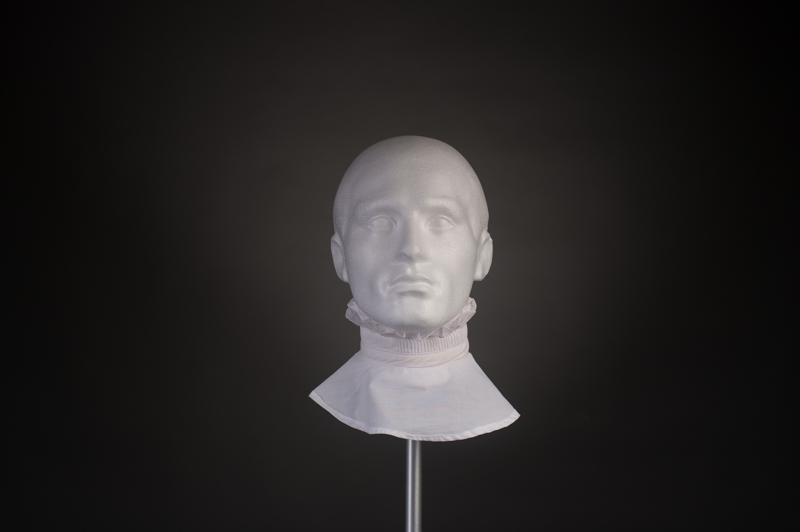
6. …and to add a little more drama, the light at camera-right is pushed behind Eric.
Shutter speed: 1/1000 sec
Aperture: f7.1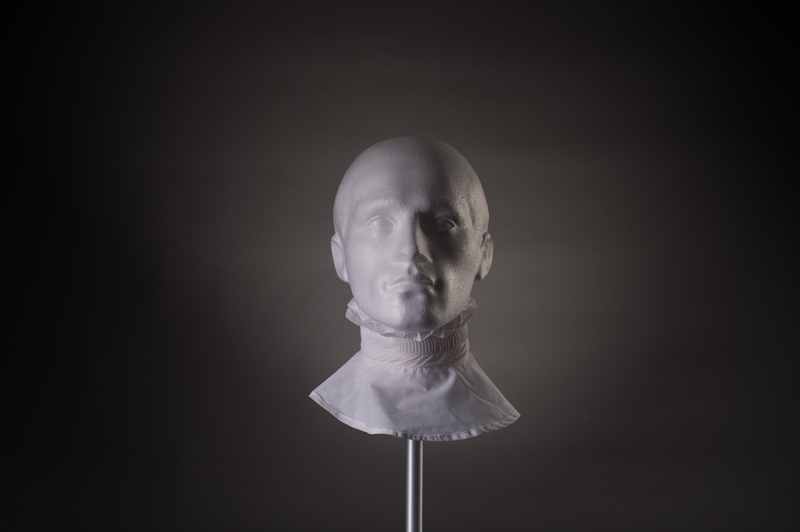
7. Same lighting, but back to normal flash sync speed of 1/200 sec. Note the dust specks showing on the background. Clearly, the smaller the aperture, the more obvious dust will become, and this image would need to be cleaned (along with my lens (or sensor)).
Shutter speed: 1/200 sec
Aperture: f14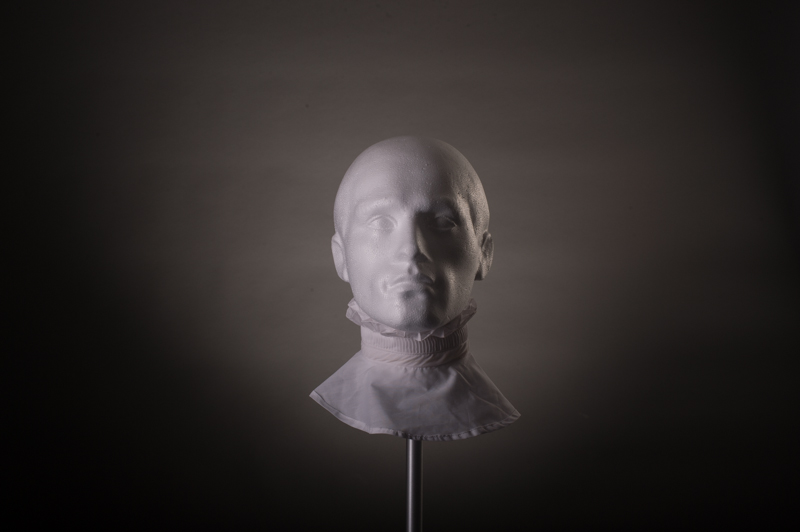
8. Here, I have moved removed camera-right, and turned the ground light to the rear left pointing at Eric to give a rim light. Notice the very wide aperture and the focus “fall-off” on Eric’s ears. This gives a much nicer feel than stark focus everywhere, but it makes getting the eyes in focus much more important.
Shutter speed: 1/8000 sec
Aperture: f2.2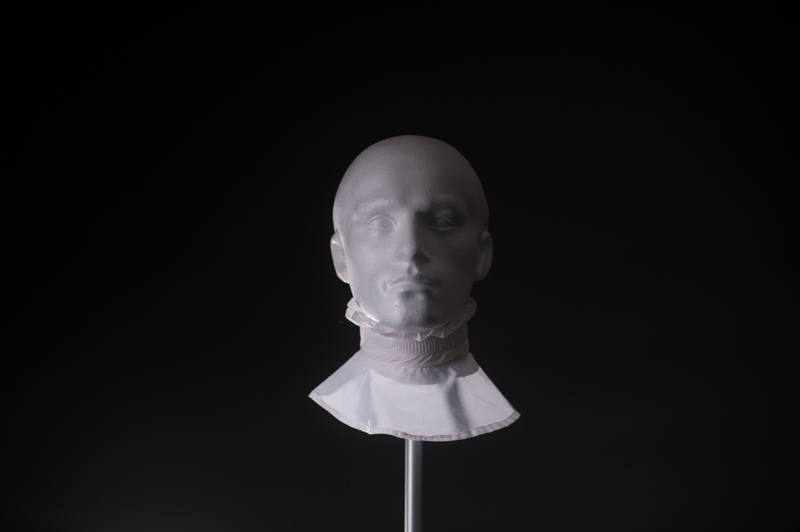
9. But, it is also important in this case to balance the light, so I moved it to rear right, again pointing at Eric.
Shutter speed: 1/8000 sec
Aperture: f2.2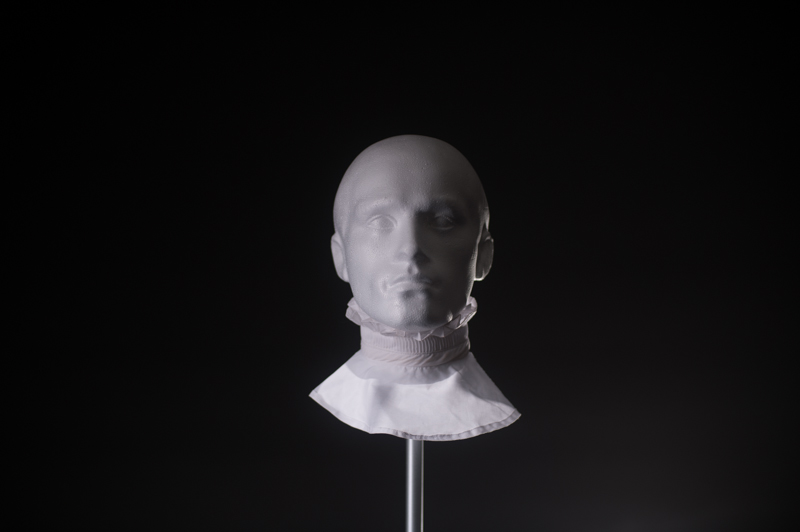
10. Final set-up is with a huge 75cm beauty dish, in line with the camera but 45 degrees above Eric. A beauty dish this size is heavy and you need a solid stand and counter-weight, but the flood of light is excellent.
Shutter speed: 1/250 sec
Aperture: f13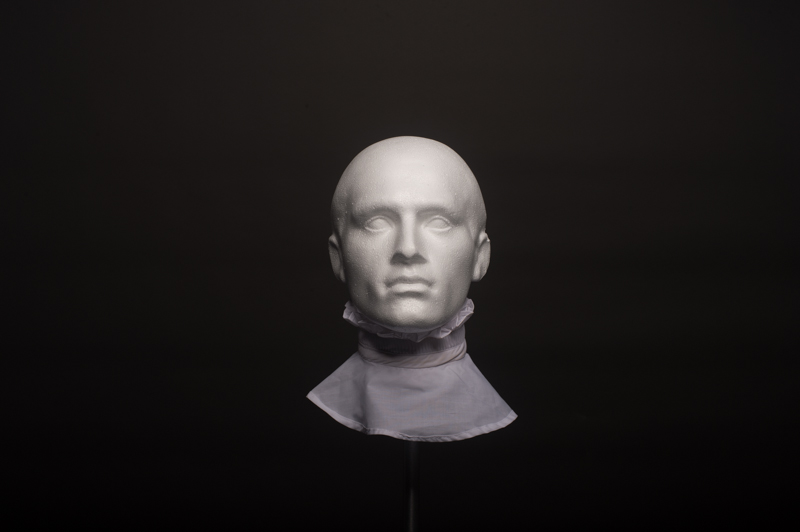
11. Same set-up, but with a wider aperture to lend a little more reality.
Shutter speed: 1/8000 sec
Aperture: f3.2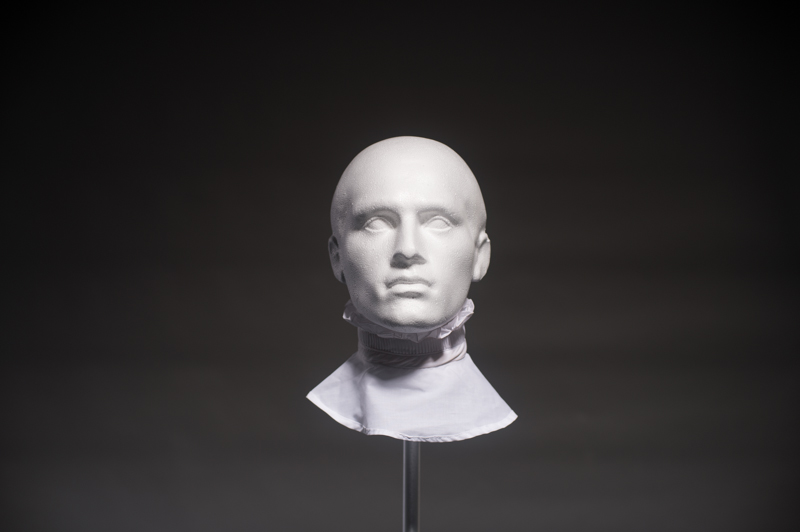
12. Finally, with a 25cm beauty dish with less light spread, and a little more drama.
Shutter speed: 1/8000 sec
Aperture: f3.2
My favourite here is No 6 – will work well with a living and breathing person!
Comments are closed.